Part 2: Running Gradle Tasks
Learn the basics of Gradle tasks by running one and looking at its output.
Step 0. Before you Begin
-
You initialized your Java app in part 1.
Step 1. Viewing available Tasks
A task is a basic unit of work that can be done by Gradle as part of the build.
In the tutorial directory, enter the command below to list all the available tasks in the project:
$ ./gradlew tasksThe list includes tasks contributed by the application plugin and the plugin it applies:
Application tasks
-----------------
run - Runs this project as a JVM application

Build tasks
-----------
assemble - Assembles the outputs of this project.
build - Assembles and tests this project.

...

Documentation tasks
-------------------
javadoc - Generates Javadoc API documentation for the main source code.

...

Other tasks
-----------
compileJava - Compiles main Java source.

...
A task might be responsible for compilation, copying, and moving files around, creating JAR files, generating Javadoc, publishing artifacts to repositories, or many other discrete units of work.
You can also list the tasks only available in the app subproject by running ./gradlew :app:tasks.
You can obtain more information in the task listing using the --all option: ./gradlew tasks --all.
|
In part 1 of the tutorial, we ran the build task using the ./gradlew build command.
Step 2. Understanding Tasks
We’ve listed the tasks available when the project is initialized, but what if we want to create our own tasks?
Gradle provides many built-in tasks that developers can use to enhance build scripts.
This example task copies *.war files from the source directory to the target directory using the Copy built-in task.
tasks.register<Copy>("copyTask") {
    from("source")
    into("target")
    include("*.war")
}
tasks.register(Copy, "copyTask") {
from("source")
into("target")
include("*.war")
}This task, if added to build.gradle(.kts) file in the app subproject directory, would be executed using the command ./gradlew :app:copyTask.
Popular built-in tasks include:
-
Copy -
Copyis useful to copy files around. -
Delete -
Deleteis useful to delete files and directories. -
Exec -
Execis useful to execute arbitrary O/S commands. -
Zip -
Zipis useful to bundle files.
With many more documented in the Kotlin and Groovy DSLs.
Step 3. Understanding Dependencies Between Tasks
Many times, a task requires another task to run first. If task B uses the output of task A, then task A must complete before task B begins.
-
A task may declare its dependencies explicitly.
-
A task may depend on other tasks implicitly.
Here is an example of explicit task dependency:
tasks.register("hello") {
    doLast {
        println('Hello!')
    }
}

tasks.register("greet") {
    doLast {
        println('How are you?')
    }
    dependsOn("hello")
}
tasks.register("hello") {
doLast {
println('Hello!')
}
}
tasks.register("greet") {
doLast {
println('How are you?')
}
dependsOn("hello")
}In this case, hello prints before greet. The output is Hello! How are you?.
Task execution order is automatically determined by Gradle, taking into account explicit and implicit task dependencies. If there is no dependency between tasks, Gradle enables users to request a specific execution order.
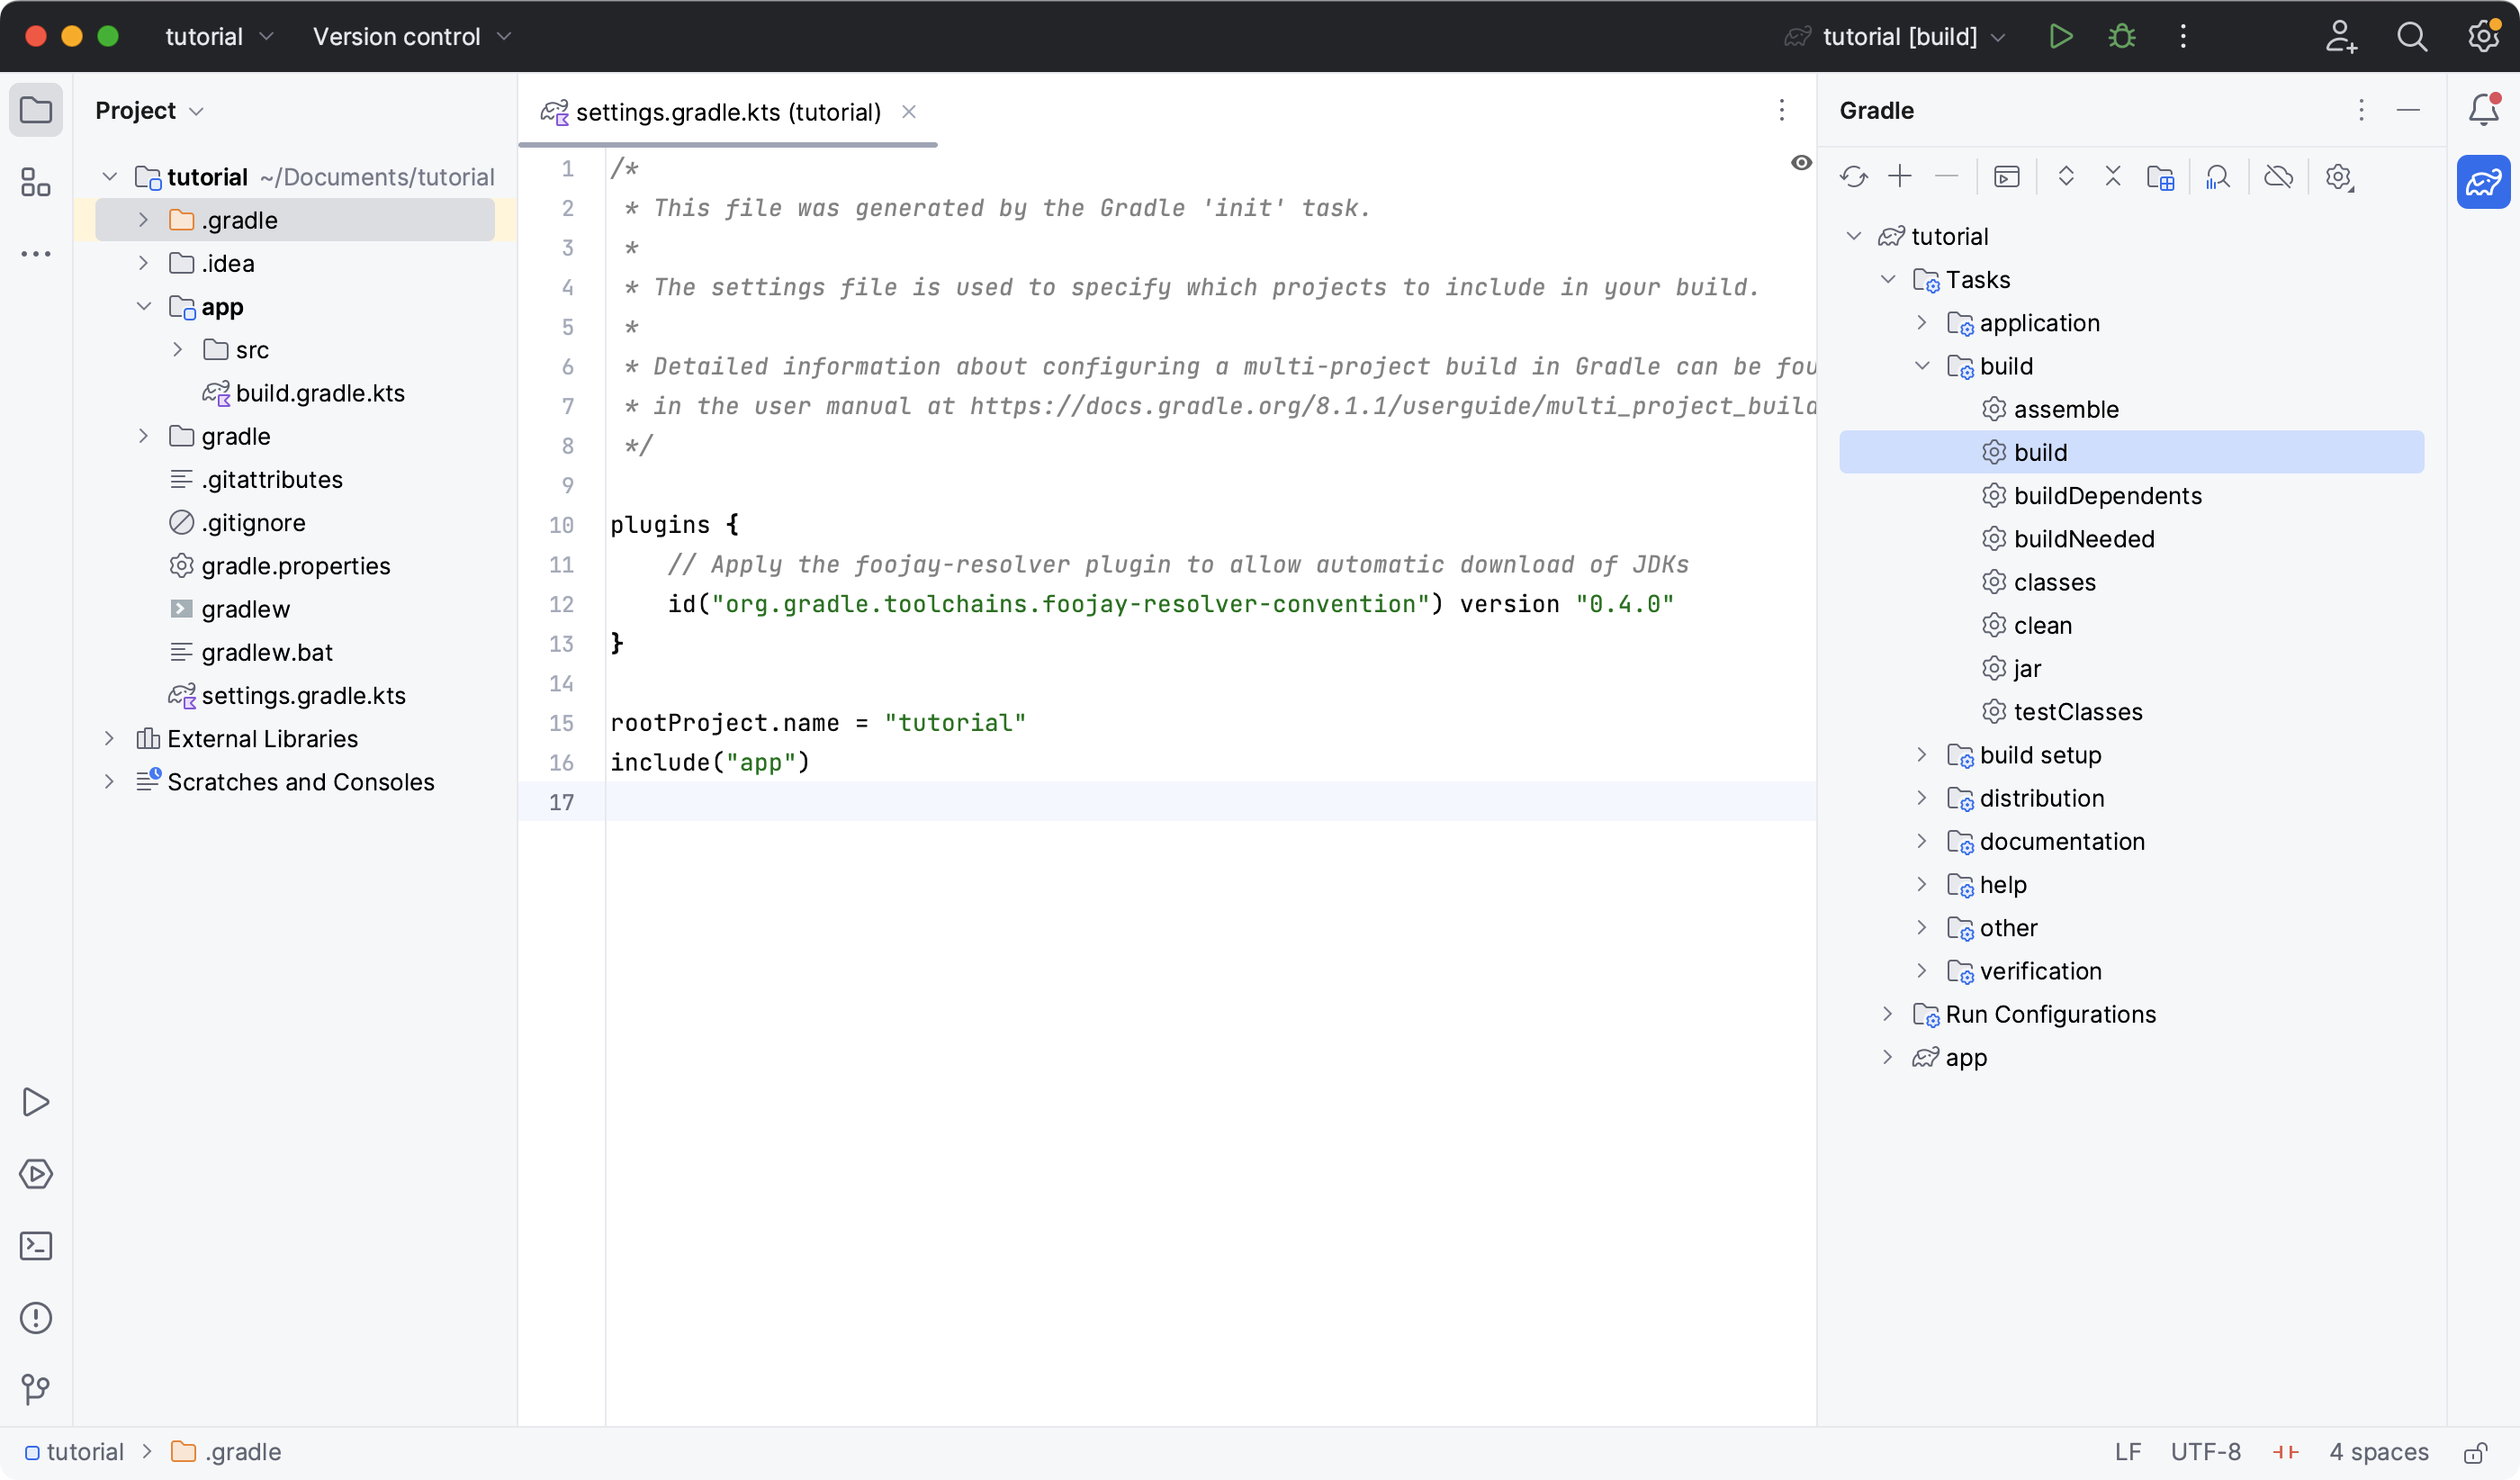
Step 4. Viewing Tasks in the IDE
Project tasks are also available in IntelliJ. The project should be open following part 1 of the tutorial.
On the right-hand side of your window, open the Gradle pane:
Step 5. Running Tasks in the IDE
You can run a Gradle task via IntelliJ by double-clicking that task in the pane.
Double-click tutorial > app > build > build.
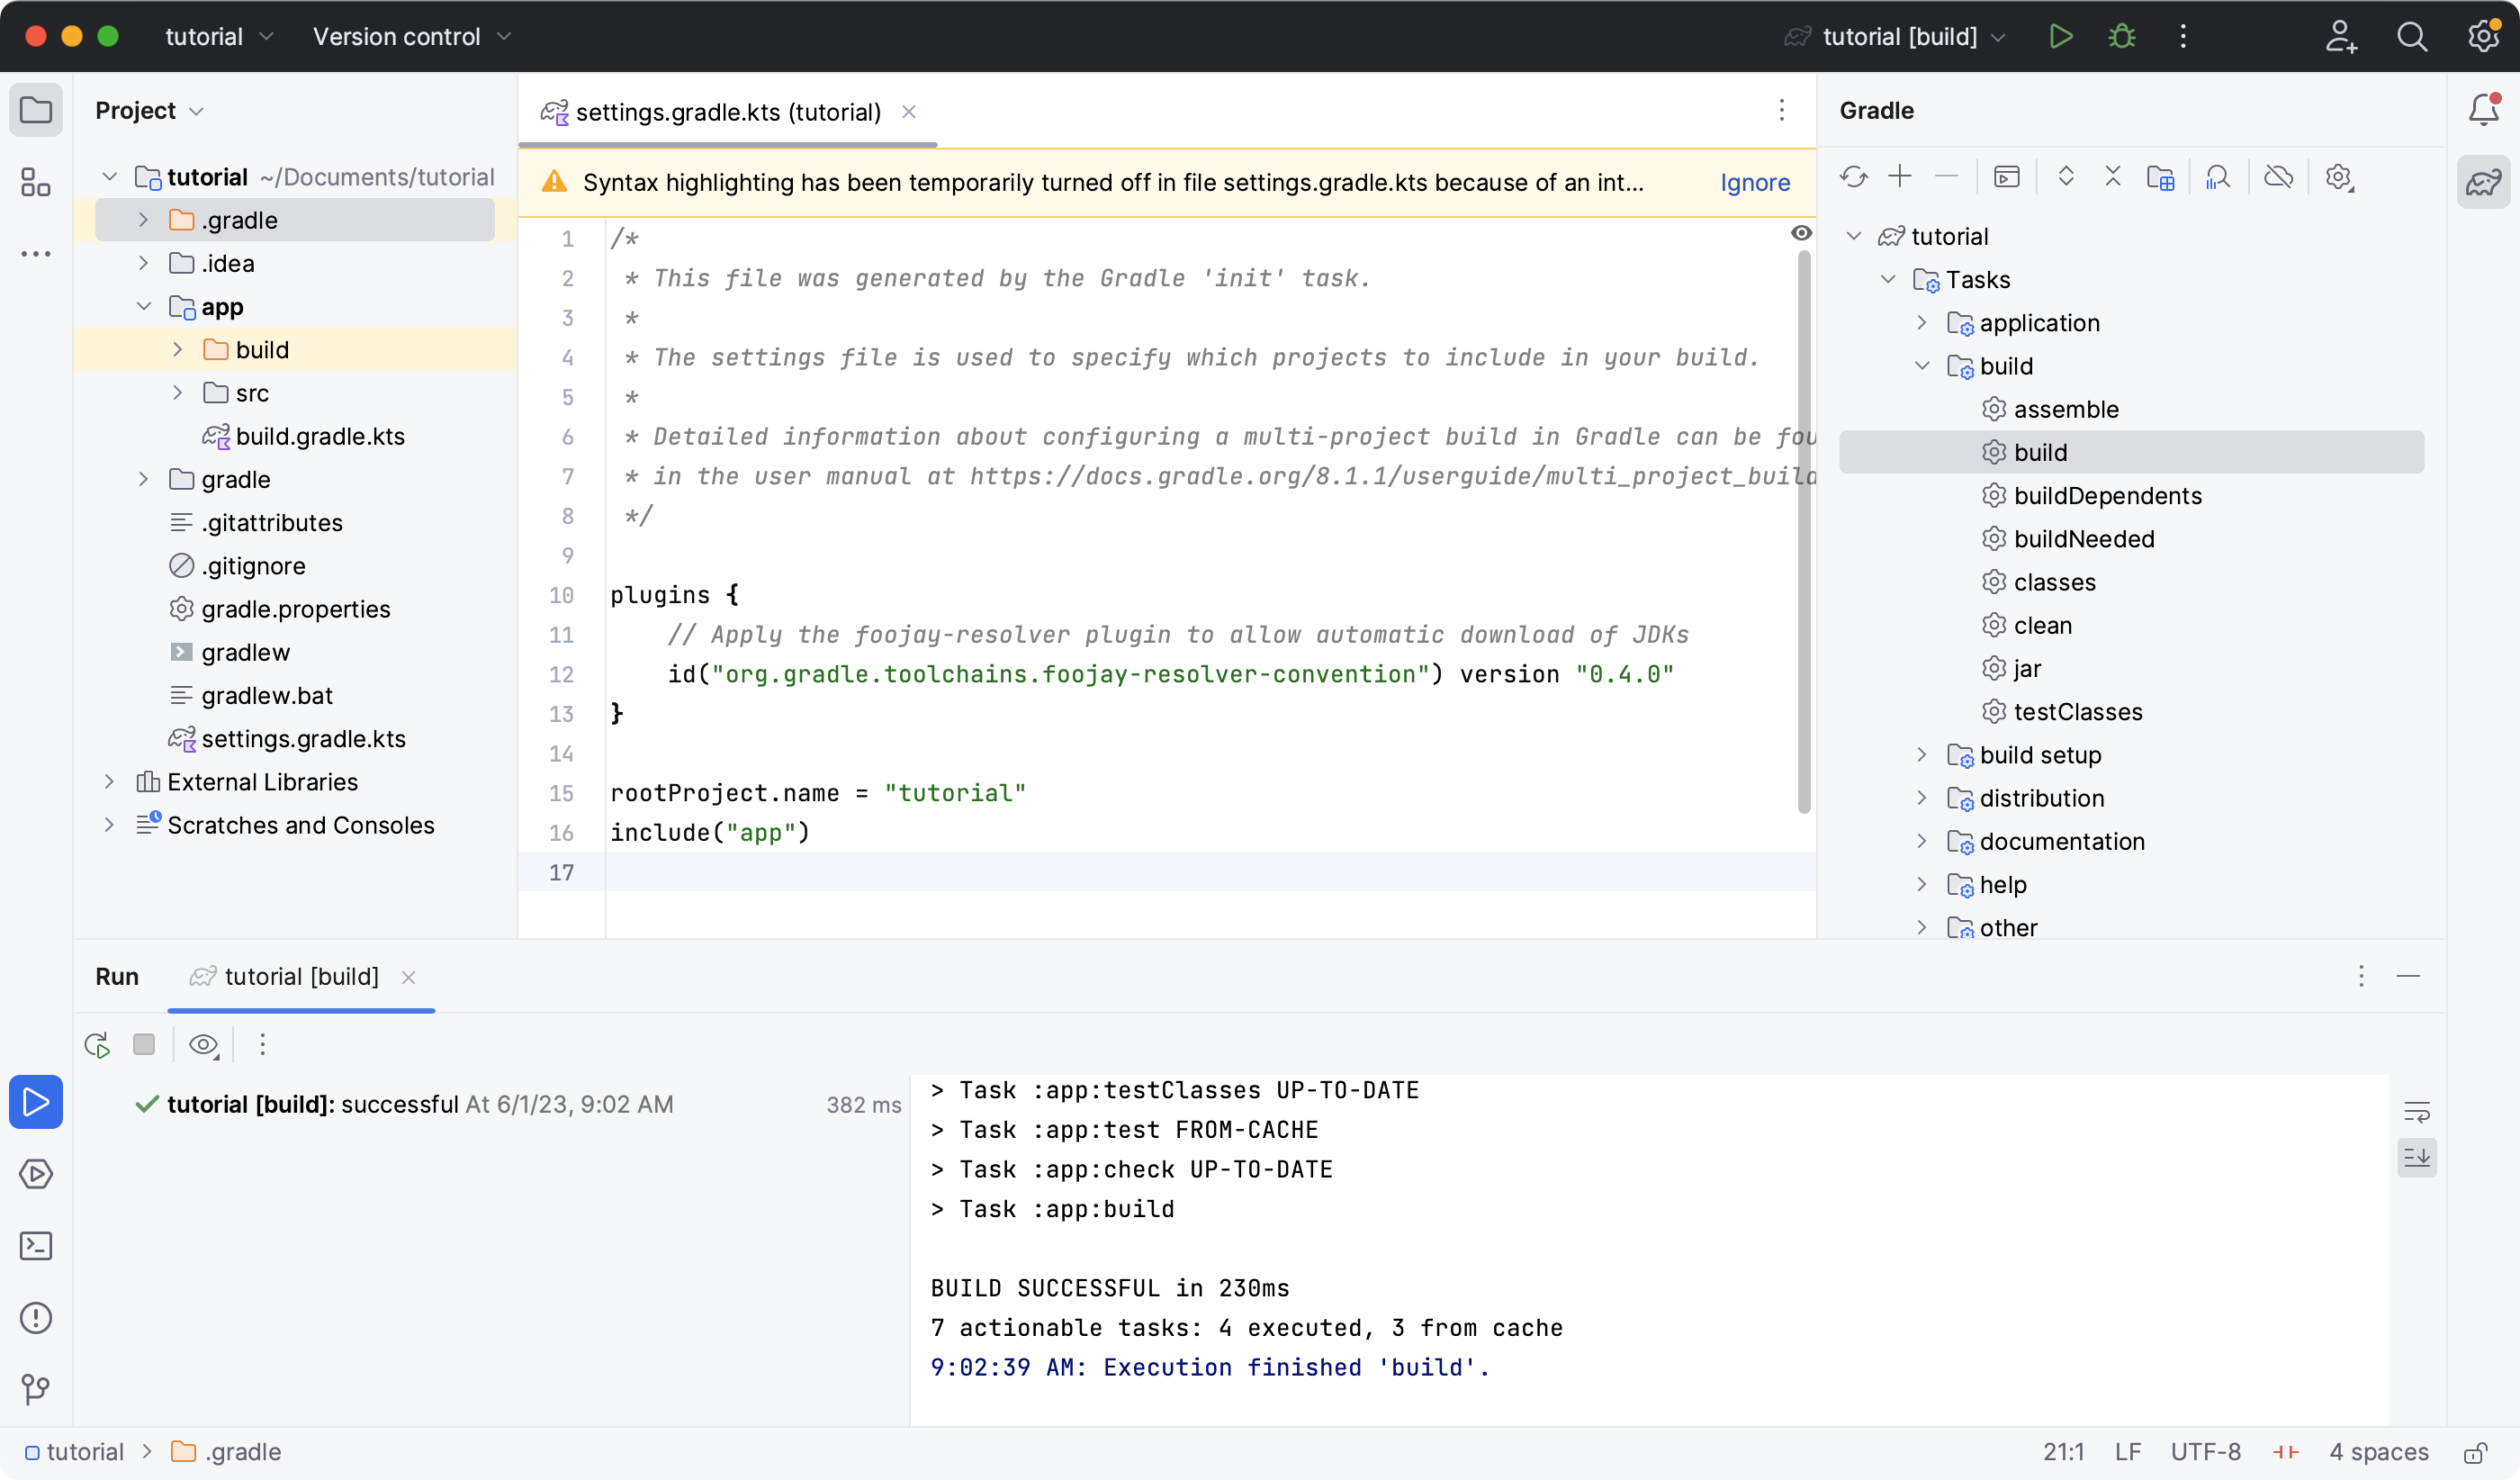
Once the build finishes, make sure it is successful in the IntelliJ console:
BUILD SUCCESSFUL in 966ms
7 actionable tasks: 7 executed
3:18:24 AM: Execution finished 'build'.
Step 6. Running Tasks in the Terminal
Run the following command in your terminal:
$ ./gradlew build> Task :app:compileJava > Task :app:processResources > Task :app:classes > Task :app:jar > Task :app:startScripts > Task :app:distTar > Task :app:distZip > Task :app:assemble > Task :app:compileTestJava > Task :app:processTestResources > Task :app:testClasses > Task :app:test > Task :app:check > Task :app:build
The build task uses the source code and its dependencies to build the app.
As seen in the output, the build task compiles, assembles, tests, and checks the code.
The tasks are printed in order of execution.
The jar tasks is a dependency of the build task.
The jar task creates an executable JAR file of the app.
Let’s run it by itself:
$ ./gradlew jar> Task :app:compileJava > Task :app:processResources > Task :app:classes > Task :app:jar
As expected, the compileJava task is a dependency of the jar task and executed first.
Once the task finishes, an app.jar file is created in your tutorial/app/build/libs/ folder.
Invoke the run task and check the output:
$ ./gradlew run> Task :app:compileJava > Task :app:processResources > Task :app:classes > Task :app:run Hello World! BUILD SUCCESSFUL in 325ms
The run task executes the code in tutorial/app/src/main/java/com.gradle.tutorial/App.java.
The Java code in App.java simply prints "Hello World" to the screen:
public class App {
    public String getGreeting() {
        return "Hello World!";
    }
    public static void main(String[] args) {
        System.out.println(new App().getGreeting());
    }
}
Next Step: Dependency Management >>