Part 4: Applying Gradle Plugins
Learn about how plugins extend Gradle’s capabilities and use a popular plugin.
Step 1. Understanding Plugins
Plugins are the primary method to organize build logic and reuse build logic within a project.
Plugins are also used to distribute custom tasks as packaged code.
Applying a plugin to a project executes code that can create tasks, configure properties, and otherwise extend the project’s capabilities. Generally, plugins use the Gradle API to provide additional functionality and extend Gradle’s core features.
Plugins can:
-
Add tasks to the project (e.g. compile, test).
-
Extend the basic Gradle model (e.g. add new DSL elements that can be configured).
-
Configure the project, according to conventions (e.g. add new tasks or configure sensible defaults).
-
Apply specific configuration (e.g. add organizational repositories or enforce standards).
-
Add new properties and methods to existing types via extensions.
Step 2. Applying a Plugin
Our project currently applies a single plugin, the Application Plugin which is bundled with Gradle:
plugins {
    // Apply the application plugin to add support for building a CLI application in Java.
    application
}
plugins {
// Apply the application plugin to add support for building a CLI application in Java.
id 'application'
}Let’s apply a plugin to our project that is maintained and distributed by Gradle called the Maven Publish Plugin. The Maven Publish Plugin provides the ability to publish build artifacts to an Apache Maven repository. It can also publish to Maven local which is a repository located on your machine.
The default location for Maven local repository may vary but is typically:
-
Mac: /Users/\[username]/.m2
-
Linux: /home/\[username]/.m2
-
Windows: C:\Users\[username]\.m2
A publication destined for a Maven repository normally includes:
-
One or more artifacts
-
The Gradle Module Metadata
-
The Maven POM file
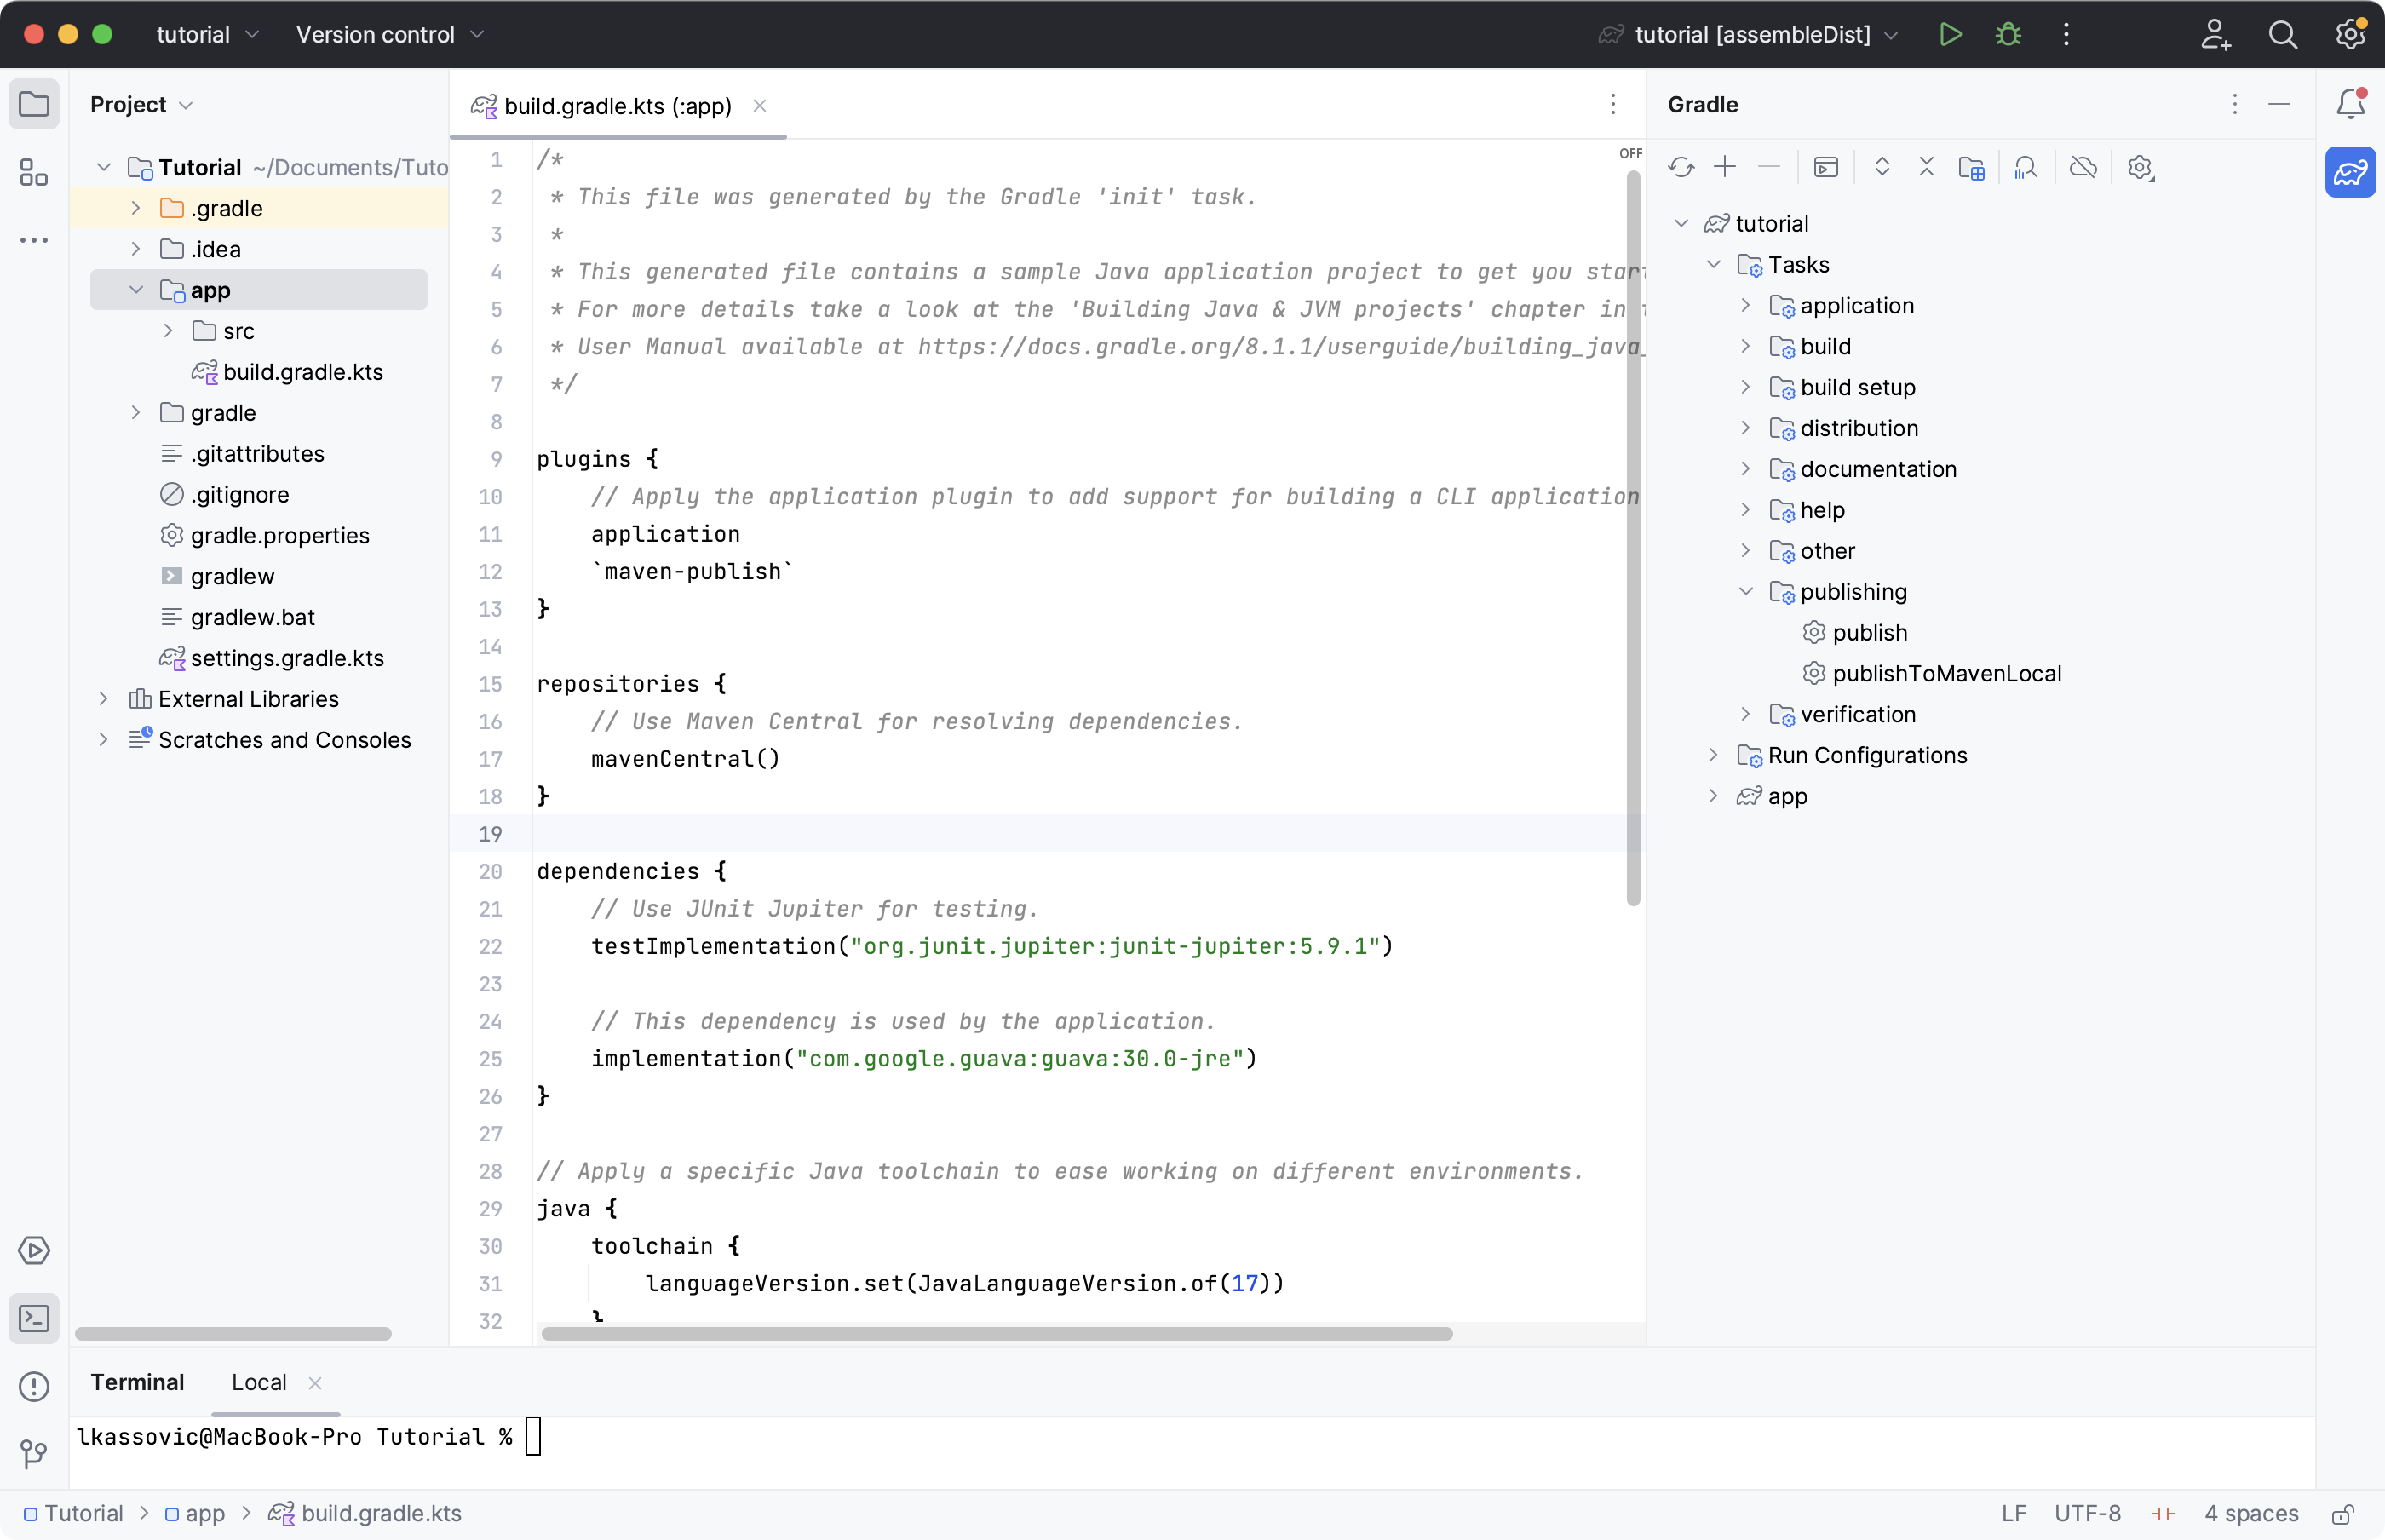
Apply the plugin by adding maven-publish to the plugins block in build.gradle(.kts):
plugins {
    // Apply the application plugin to add support for building a CLI application in Java.
    application
    id("maven-publish")
}
plugins {
// Apply the application plugin to add support for building a CLI application in Java.
id 'application'
id 'maven-publish'
}Don’t forget to sync Gradle if you are using IntelliJ IDEA.
Let’s make sure the plugin has been applied by looking at the new tasks that are available.
Run ./gradlew :app:tasks in your command line:
$ ./gradlew :app:tasks

> Task :app:tasks

------------------------------------------------------------
Tasks runnable from project ':app'
------------------------------------------------------------

...

Publishing tasks
----------------
publish - Publishes all publications produced by this project.
publishToMavenLocal - Publishes all Maven publications produced by this project to the local Maven cache.
A new set of publishing tasks are now available called publish, and publishToMavenLocal.
Similarly, the new tasks from the Maven Publish plugin are now available in IntelliJ in the Gradle right-hand pane.
Step 3. Configuring the Plugin
Add the publishing information to your build.gradle(.kts) file:
publishing {
    publications {
        create<MavenPublication>("maven") {
            groupId = "com.gradle.tutorial"
            artifactId = "tutorial"
            version = "1.0"

            from(components["java"])
        }
    }
}
publishing {
publications {
create("maven", MavenPublication) {
groupId = "com.gradle.tutorial"
artifactId = "tutorial"
version = "1.0"
from(components["java"])
}
}
}Run ./gradlew :app:tasks in your command line again, you will see additional tasks now that we have given the plugin additional information about our app:
$ ./gradlew :app:tasks

> Task :app:tasks

------------------------------------------------------------
Tasks runnable from project ':app'
------------------------------------------------------------

...

Publishing tasks
----------------
generateMetadataFileForMavenPublication - Generates the Gradle metadata file for publication 'maven'.
generatePomFileForMavenPublication - Generates the Maven POM file for publication 'maven'.
publish - Publishes all publications produced by this project.
publishMavenPublicationToMavenLocal - Publishes Maven publication 'maven' to the local Maven repository.
publishToMavenLocal - Publishes all Maven publications produced by this project to the local Maven cache.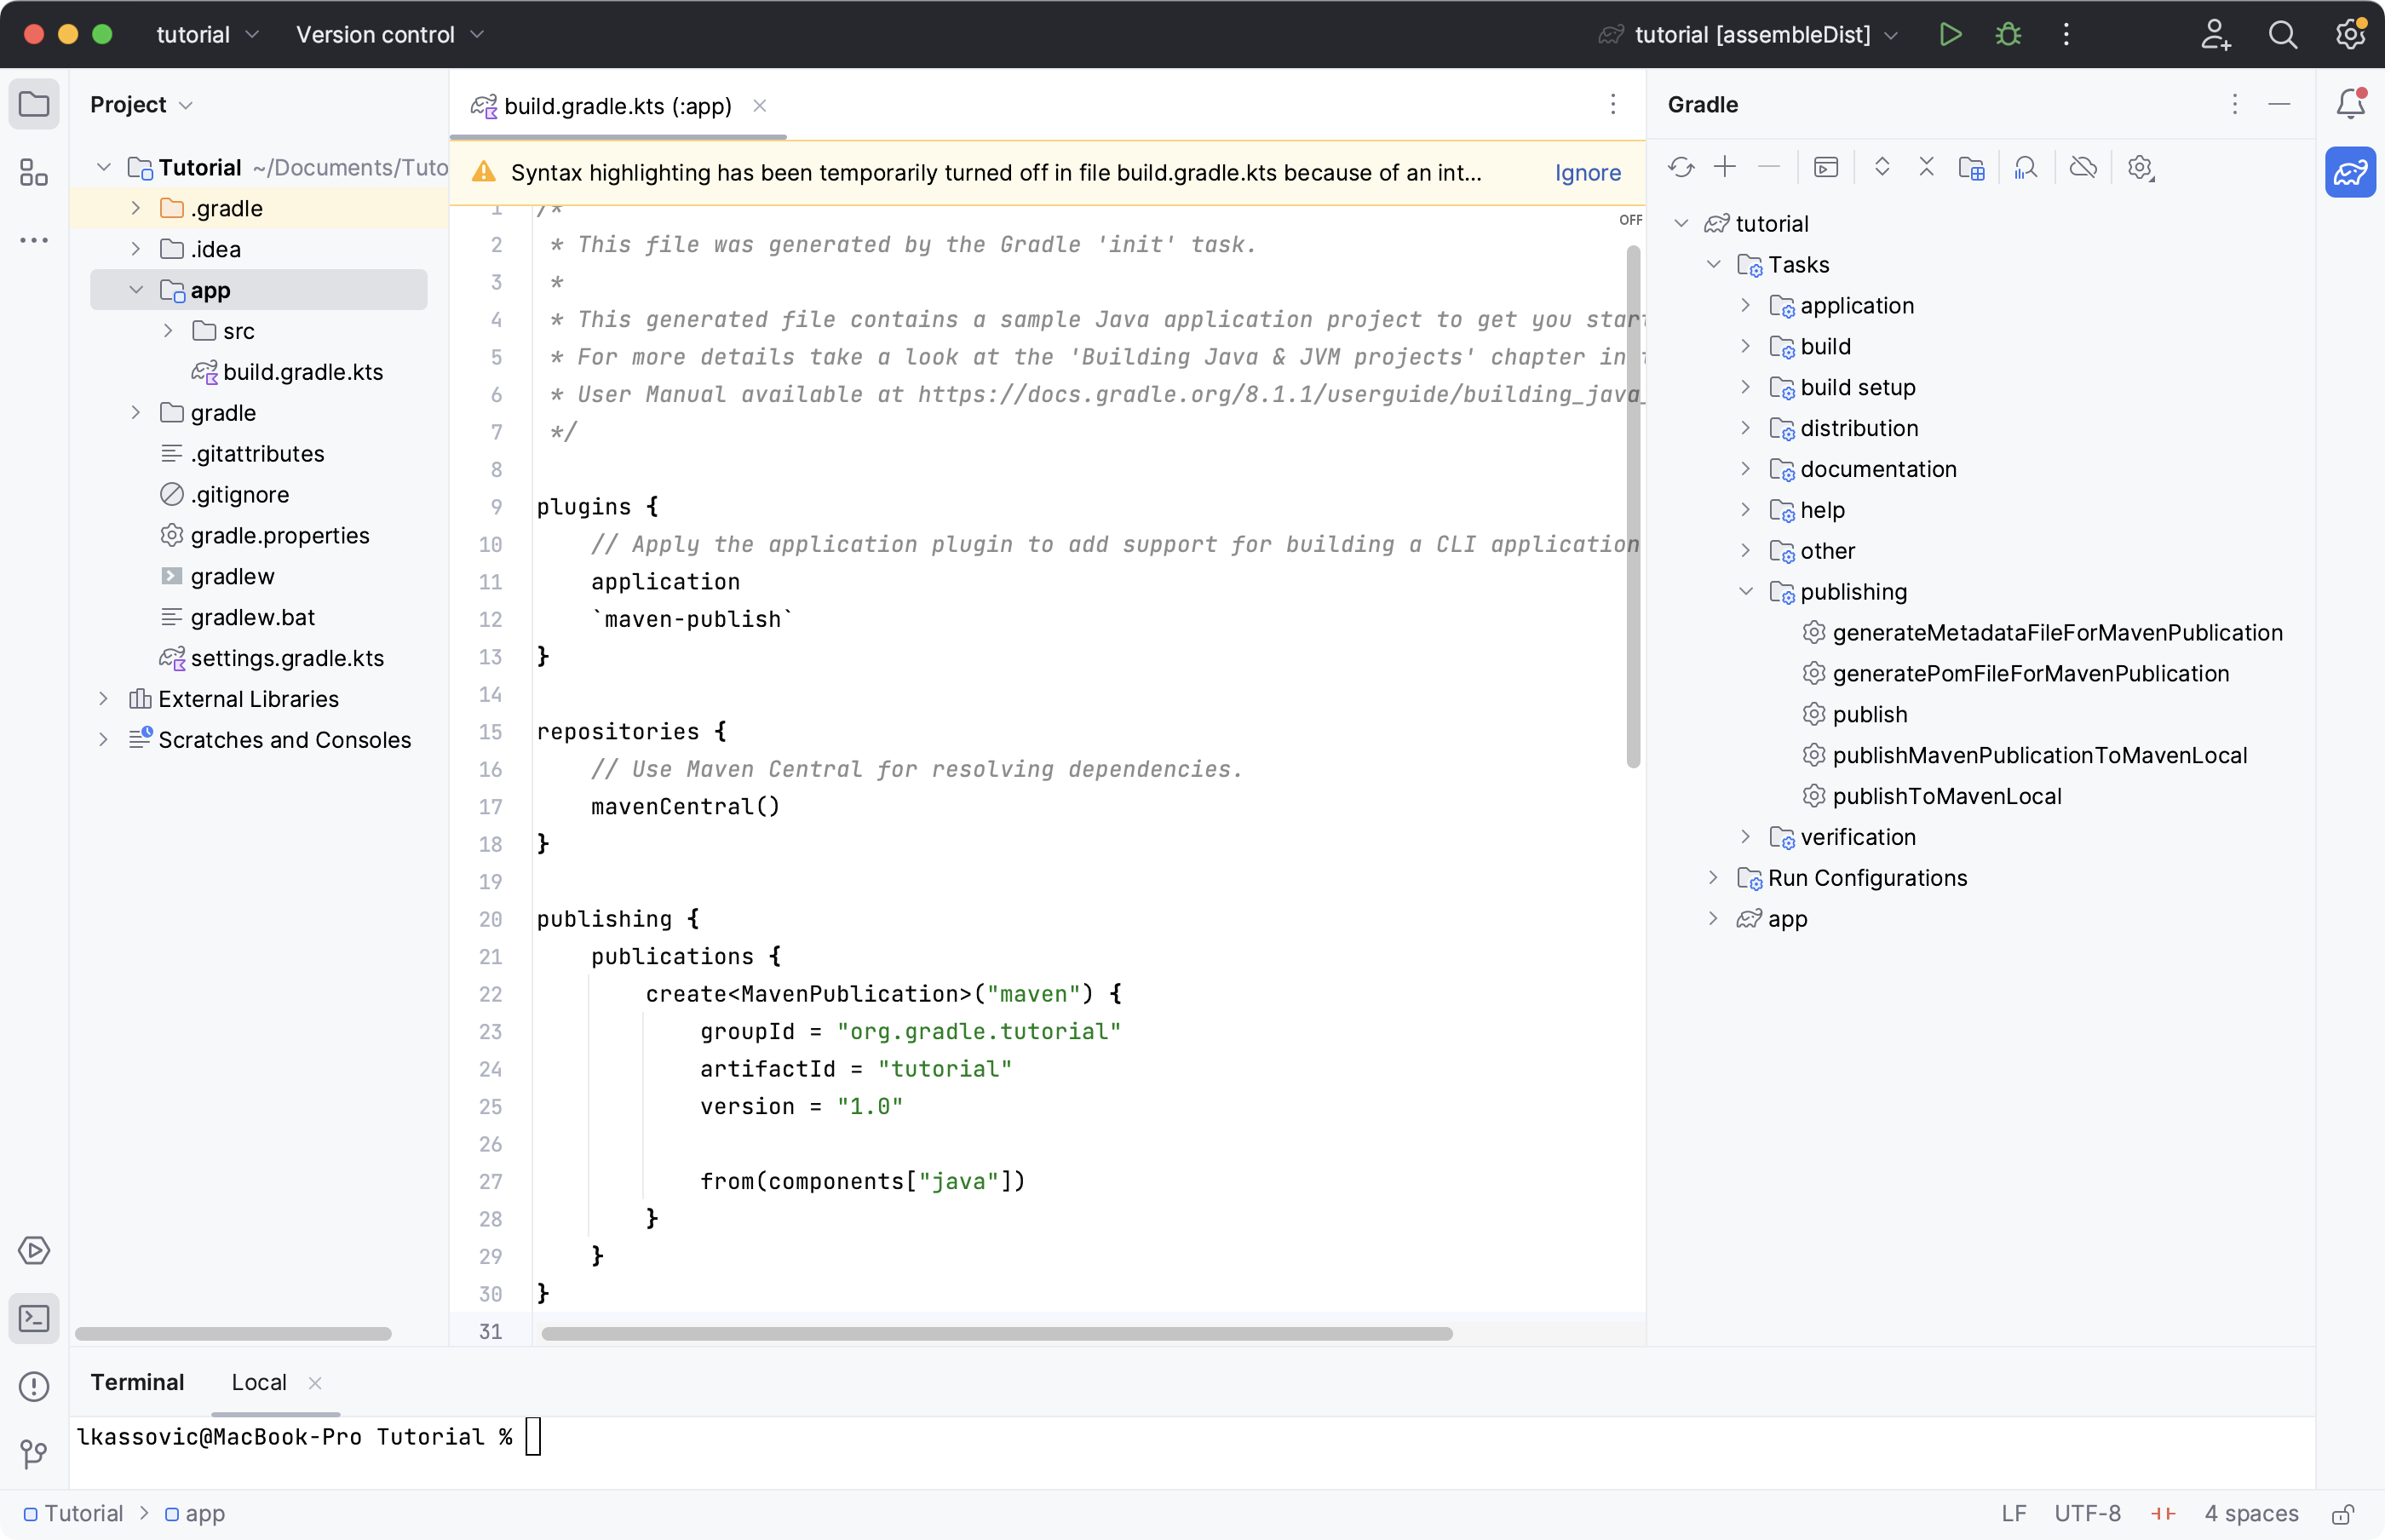
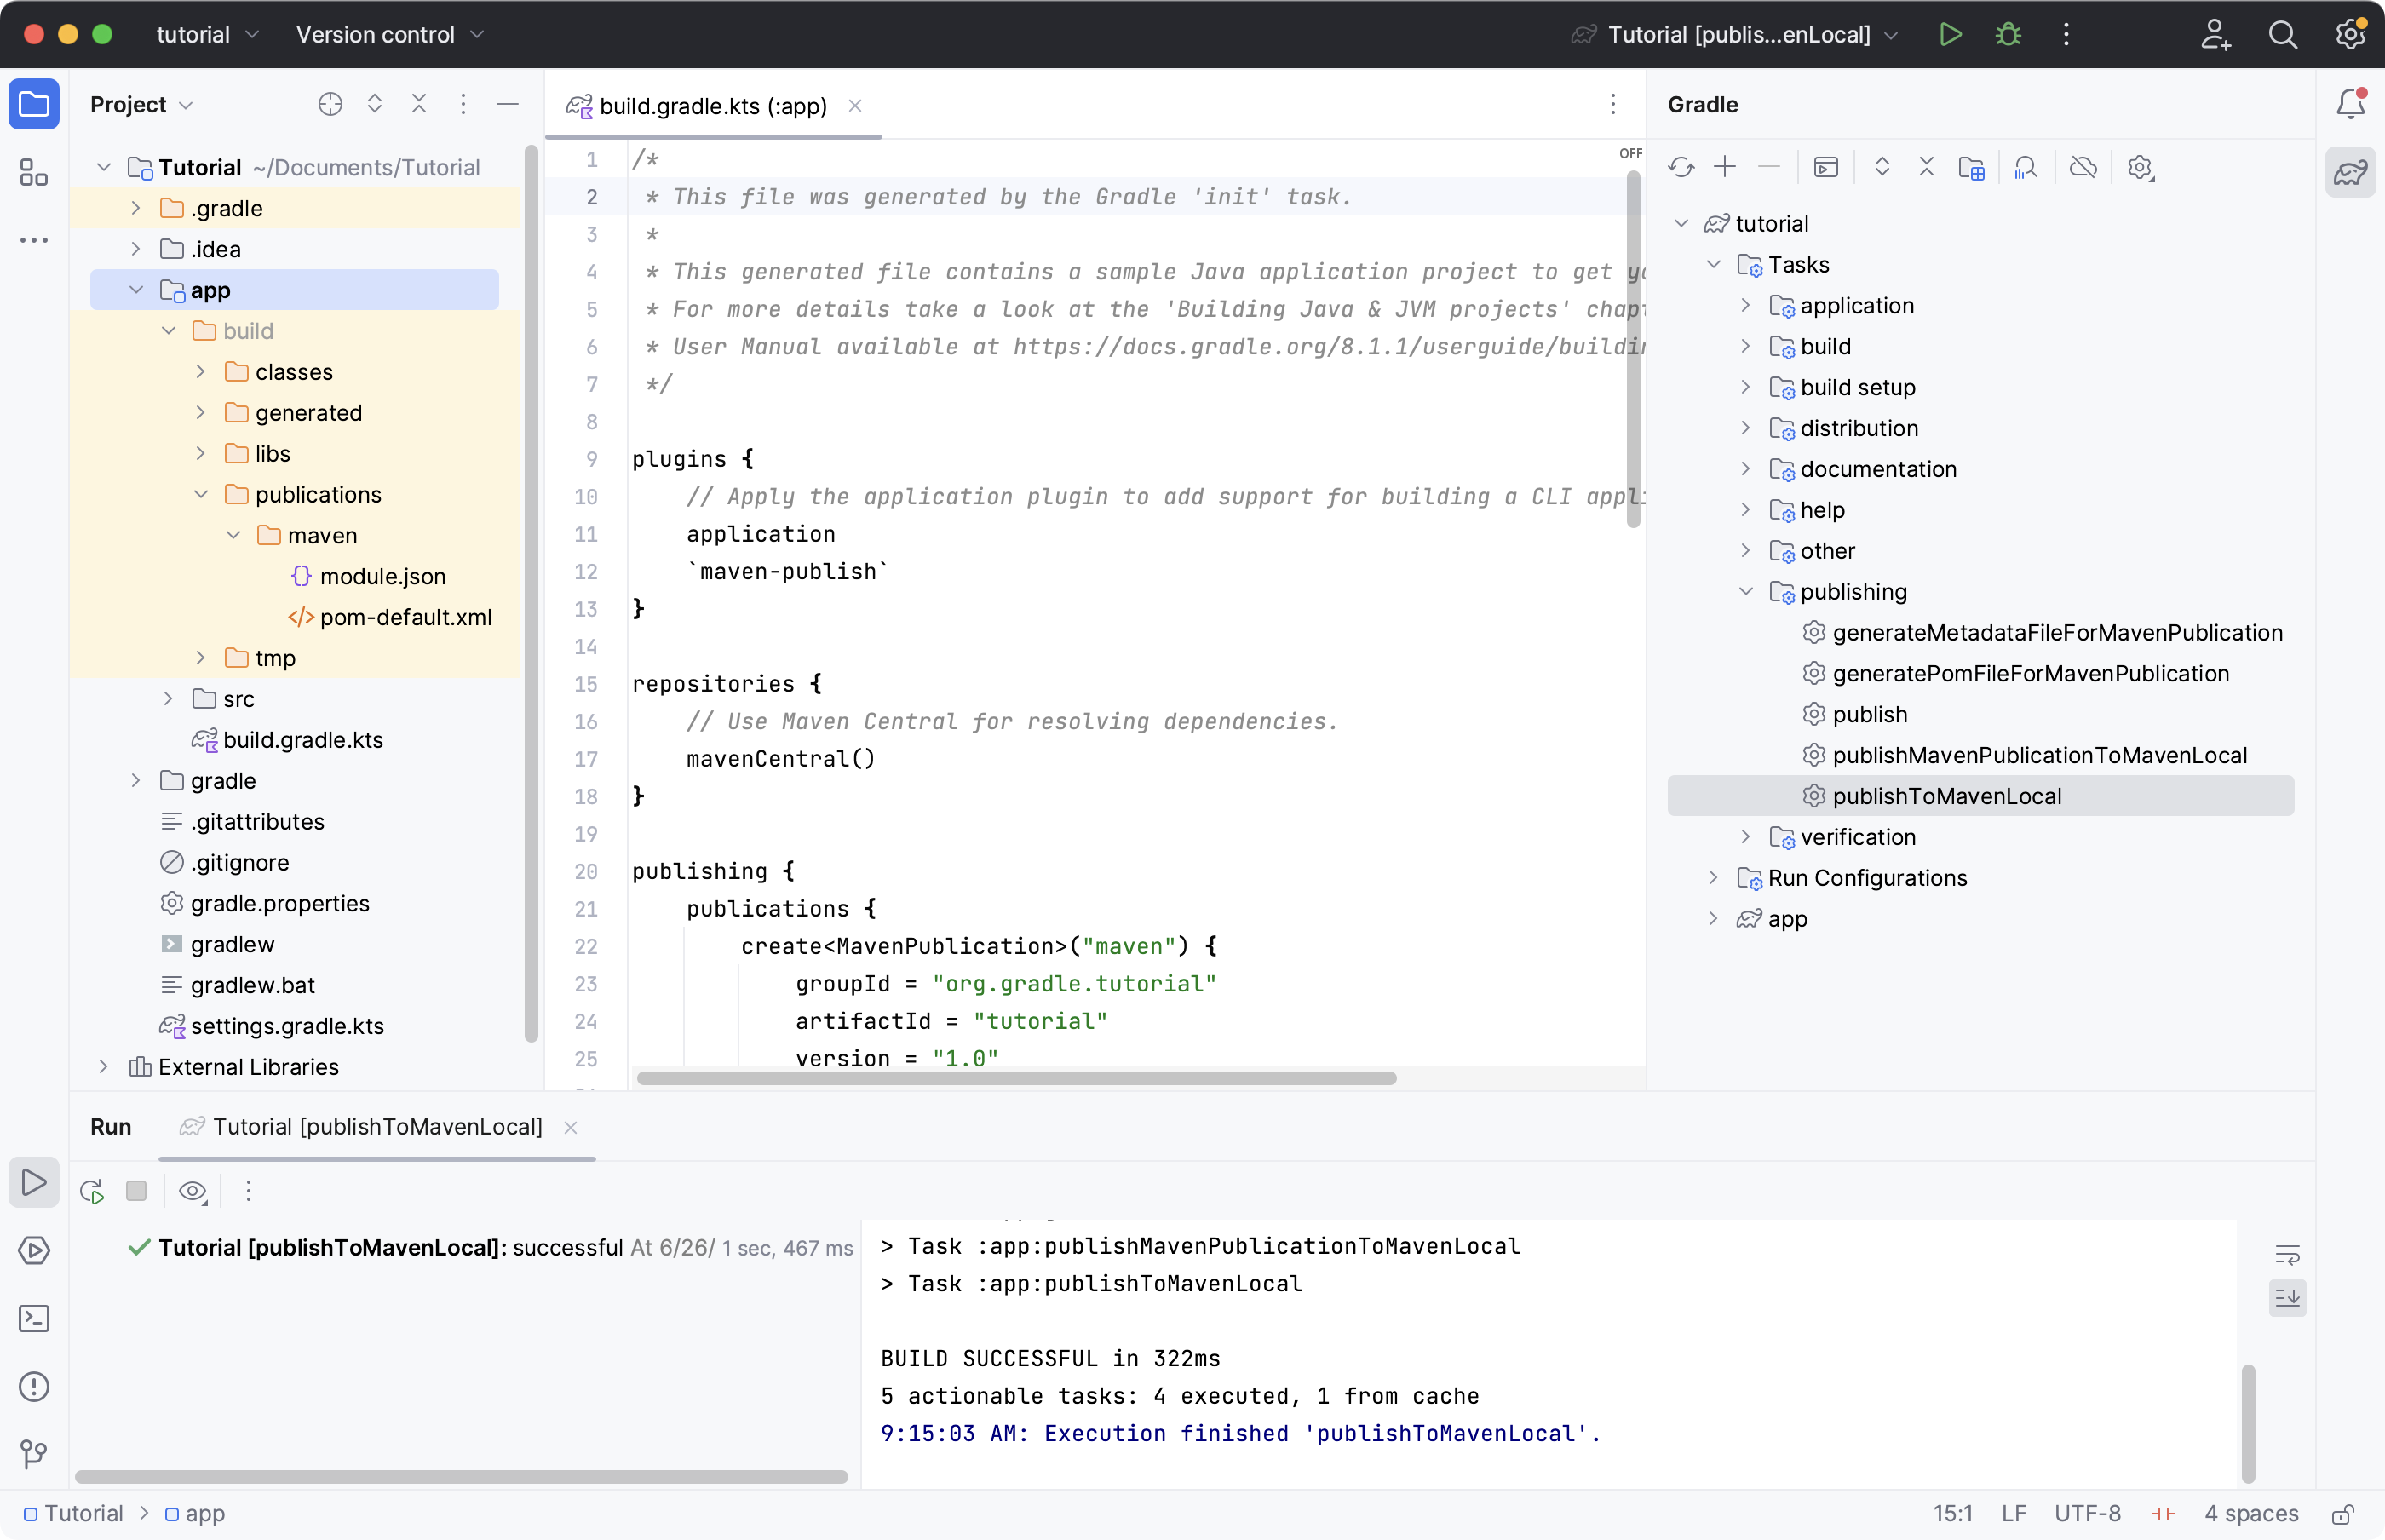
Step 4. Using the Plugin
To use the plugin, run the publishToMavenLocal task by running ./gradlew :app:publishToMavenLocal.
$ ./gradlew :app:publishToMavenLocal

> Task :app:compileJava FROM-CACHE
> Task :app:processResources NO-SOURCE
> Task :app:classes UP-TO-DATE
> Task :app:jar
> Task :app:generateMetadataFileForMavenPublication
> Task :app:generatePomFileForMavenPublication
> Task :app:publishMavenPublicationToMavenLocal
> Task :app:publishToMavenLocal
BUILD SUCCESSFUL in 331ms
The publishToMavenLocal task builds the POM file and the artifacts to be published.
It then installs them into the local Maven repository.
You can view the POM and GMM file in the build directory:
You can also view the files in your Maven Local directory: /Users/\[username]/m2/repository/com/gradle/tutorial/tutorial/1.0.
<?xml version="1.0" encoding="UTF-8"?>
<project xsi:schemaLocation="http://maven.apache.org/POM/4.0.0 https://maven.apache.org/xsd/maven-4.0.0.xsd" xmlns="http://maven.apache.org/POM/4.0.0"
    xmlns:xsi="http://www.w3.org/2001/XMLSchema-instance">
  <modelVersion>4.0.0</modelVersion>
  <groupId>com.gradle.tutorial</groupId>
  <artifactId>tutorial</artifactId>
  <version>1.0</version>
  <packaging>pom</packaging>
</project>
Step 5. Exploring Plugins
Plugins are used to extend build capability and customize Gradle.
Using plugins is the primary mechanism for organizing build logic.
Plugin authors can either keep their plugins private or distribute them to the public. As such, plugins are distributed three ways:
-
Core plugins - Gradle develops and maintains a set of Core Plugins.
-
Community plugins - Gradle’s community shares plugins via the Gradle Plugin Portal.
-
Custom plugins - Gradle enables user to create custom plugins using APIs.
Convention plugins are plugins used to share build logic between subprojects (modules). Users can wrap common logic in a convention plugin. For example, a code coverage plugin used as a convention plugin can survey code coverage for the entire project and not just a specific subproject.
| Gradle highly recommends the use of Convention plugins. |
Next Step: Exploring Incremental Builds >>